Measurement Tabs
Tabs give one garment several ways to be measured. Your team picks the tab that suits the customer and only fills in those measurements. This page covers setting tabs up and what your team sees.
What tabs are for
Not every customer is measured the same way. One is measured on the body, another brings in a jacket they love and you measure that, a third tries on a fitting garment and you note the changes. Each needs a different set of fields.
Tabs keep all of these on one form. You might set up a jacket with a Skin and Finished tab and a Try-on Size tab. Your team picks one for the customer, sees only that tab's fields, and the manufacturer receives only those measurements.
Setting up tabs
- Open the Measurement FormOpen the garment in the Form Builder and go to the Measurement Form tab.
- Add a tabClick Add Tab Section, name it and save. It appears as a chip in the row of tabs.
- Fill itClick the tab's chip. Its block appears in the measurement list, marked Tab. Click Add Field to Tab Section, use the plus between its fields, or drag existing measurements into it.
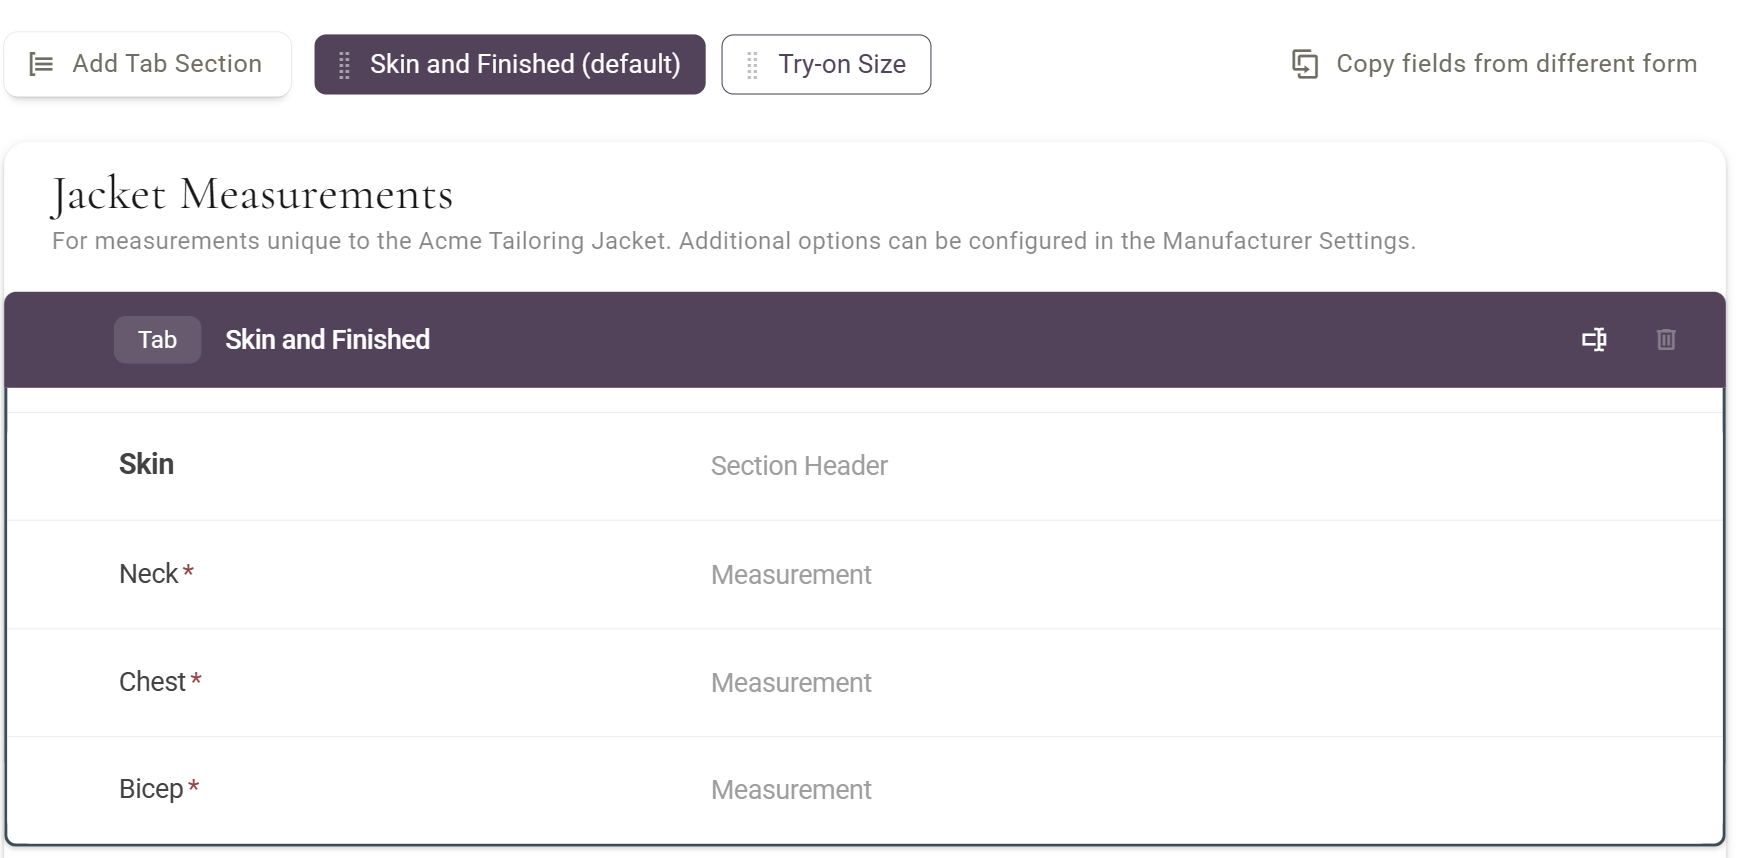
Fields outside every tab show for all customers, whichever tab is picked. Keep things every order needs there, and put only the measurements that differ by method inside the tabs.
Order, rename, delete
- The first tab is the defaultIts chip reads (default), and it is what a new customer starts on. Drag the chips to change the order, and the default with it.
- Where the tab sits in the listDrag the tab's block up or down among the other measurements. Its fields appear at that point on the order.
- RenamingHover the block and click Rename.
- DeletingMove or delete the tab's fields first: the bin stays greyed out while it has any. An empty tab is deleted straight away, with no confirmation.
What your team sees
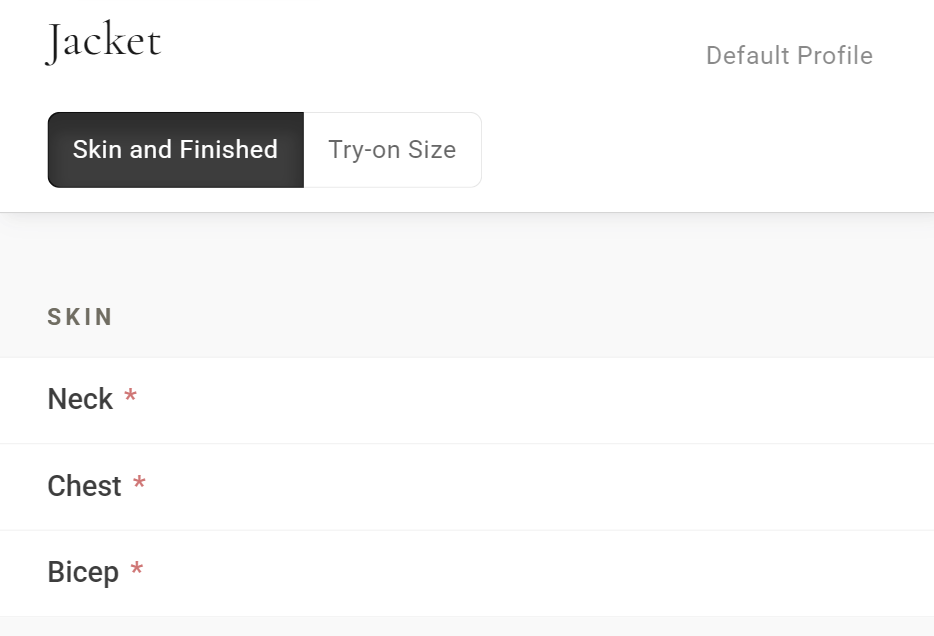
On the measurements screen, each garment heading has one button per tab. Clicking a tab switches the list straight away, and a message confirms it, for example Acme Tailoring Jacket updated to 'Try-on Size'.
- Remembered for the customerThe choice is kept for that customer, manufacturer and garment. Their next jacket opens on the same tab, while other customers still start on the default.
- Nothing is lost by switchingMeasurements typed into another tab are kept, just hidden.
- Only the chosen tab countsRequired fields on other tabs do not hold up the order, and the finished order prints only the chosen tab's measurements.
- Fixed once submittedWhen a garment is submitted, the tab it was measured on is kept with it.
Good to know
- Each form has its own tabsTabs belong to one manufacturer's garment. A jacket's tabs do not appear on the trousers.
- Copied fields land outside the tabsCopy fields from different form adds measurements at the top of the list. Drag them into the right tab afterwards.
- Body Profile is separateThe Body Profile section at the top of the form is shared across the manufacturer's garments and has no tabs.
- Master Measurements has tabs tooThe Master Measurements form uses the same Add Tab Section controls. It needs the Premier plan.
More: Using the Form Builder · Field Types · Measurement History