Adding and Editing Customers
One dialog adds a new customer and edits an existing one, with their details, who looks after them, their groups and their notes in one place. This page walks through both, the AI image opt-out, and the settings an owner uses to choose which fields the team fills in.
When you would use it
Every order, fitting and measurement belongs to a customer, so the customer record is the first thing you make and the thing you come back to most.
- A walk-in wants a suit todayType their name, phone and email and click Add Order. The customer is saved and a new order opens for them, so you go straight to the garment.
- A first fitting is bookedAdd the customer and click Measurements to land on a new measurement while they stand in front of you.
- A returning customer has movedClick Edit Customer on their profile, change the address and click Update Customer.
- Your shop always needs an emailAn owner makes Email required once in the settings, and the customer dialog will not save anyone without one.
Where to find it
At the top of the Customers page. Opens an empty dialog to add someone new.
The New button in the top bar, on every page, so you can add a customer without leaving what you were doing.
Edit sits next to View at the end of each row. A customer with no email or phone shows Add email or Add phone in that column, unless your shop hides that field. All three open the edit dialog.
Under the customer's details on the left of their profile.
Owners and admins choose here which fields the dialog shows and which must be filled in, for the whole team.
Adding a customer
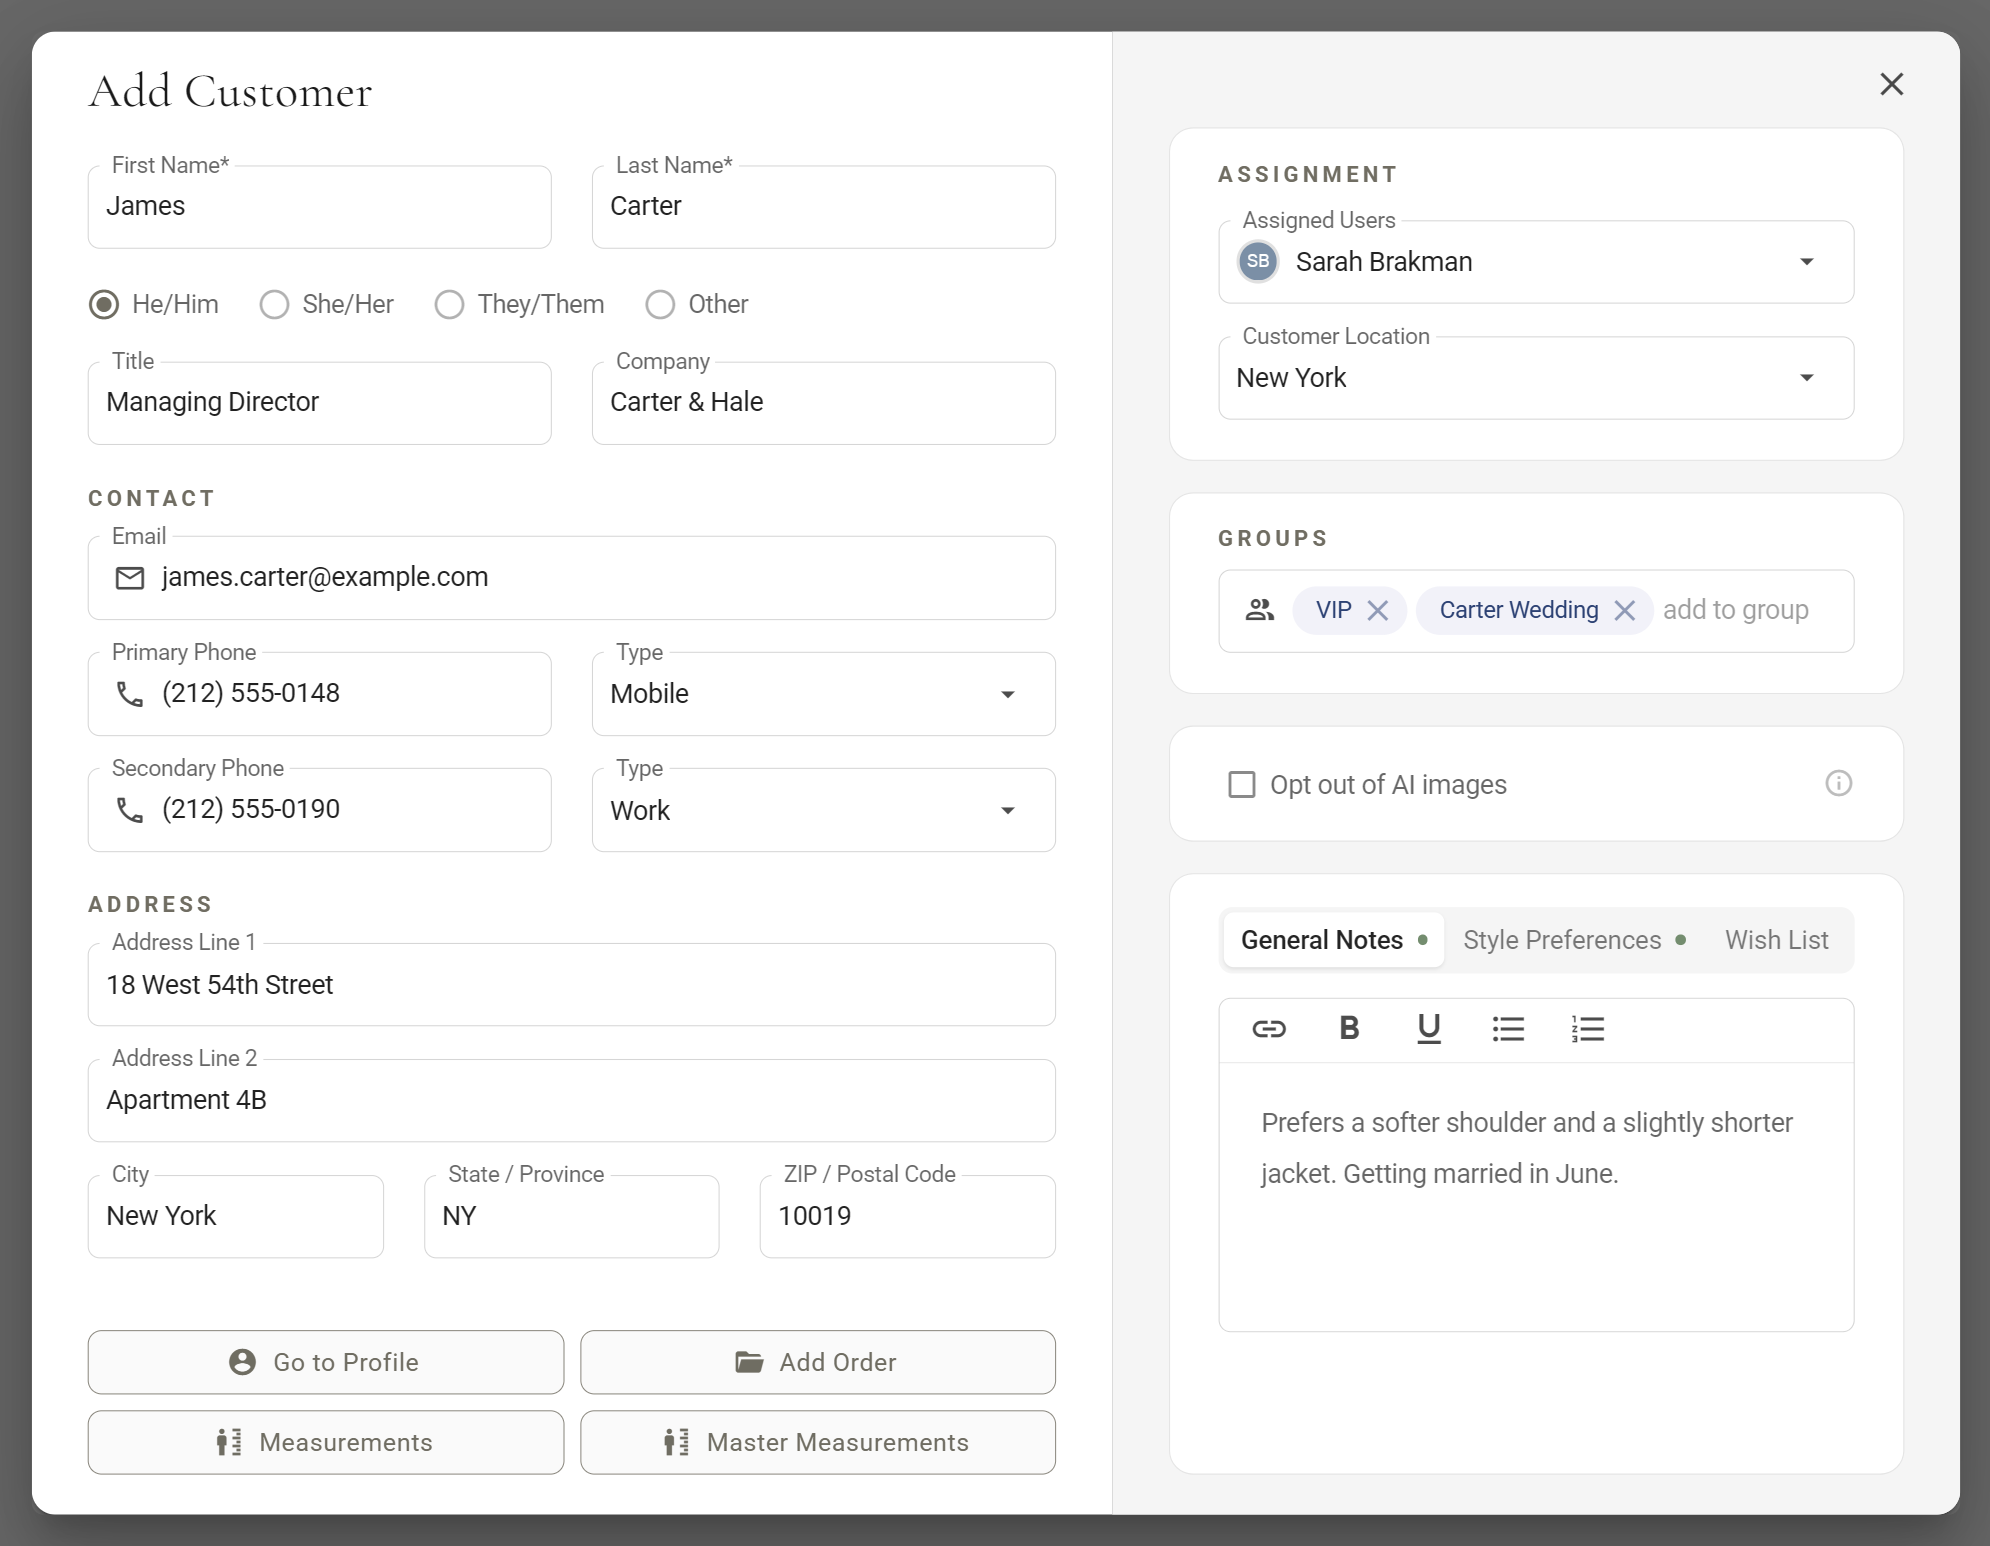
- Type the nameFirst Name* and Last Name* are the only fields always required. The buttons stay off until both are filled in and every other field passes its check.
- Fill in what you knowPronouns, title and company, email, phones and address. Pick a Type for each phone (Mobile, Work, Home or Other) so the team knows which one to call.
- Check the grey columnYou are already in Assigned Users, and your location is picked if you have one. Add colleagues, groups and notes as needed.
- Choose where to go nextEach button saves the customer, shows Customer added, and takes you somewhere different.
- Go to ProfileThe new customer's profile, on the Orders tab.
- Add OrderA new order for the customer.
- MeasurementsTheir Measurements tab, with a new measurement ready to fill in.
- Master MeasurementsOnly when your shop uses the master measurement form. Opens that form for the new customer.
Keyboard shortcuts work even while you type in a field: Ctrl+S for Go to Profile, Ctrl+O for Add Order, Ctrl+M for Measurements and Ctrl+A for Master Measurements. On a Mac, use Cmd.
If the name is already there
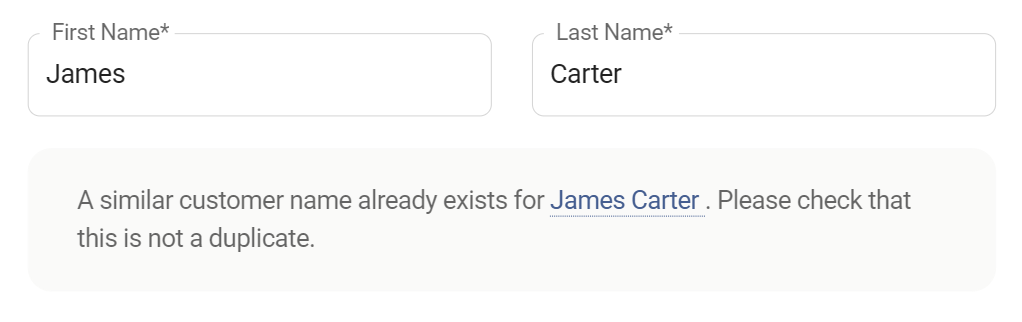
Once both names have three or more letters, the dialog warns you about a similar name already in your store. Two people can share a name, so you can still save. If you only see the customers assigned to you and this one is not, the box asks you to see your administrator instead of linking to them.
Who looks after the customer
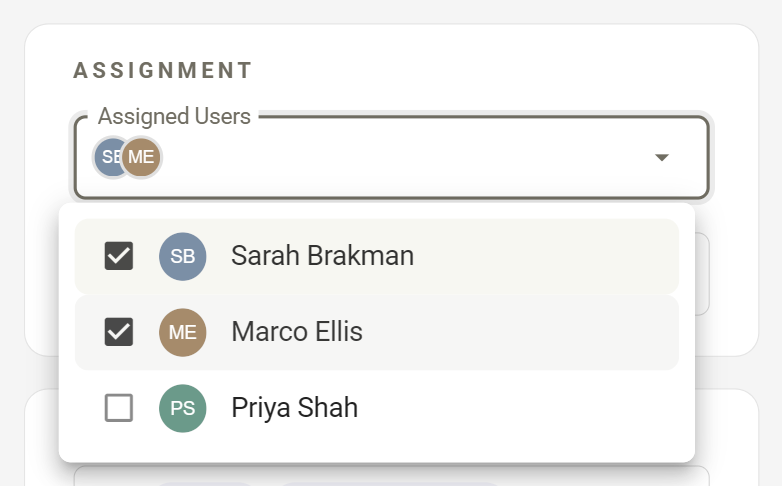
Assigned Users is who on the team looks after this customer. You start in it when you add one. Customer Location only shows when your account uses multiple locations. If you are assigned to a location, it starts on that one.
Groups
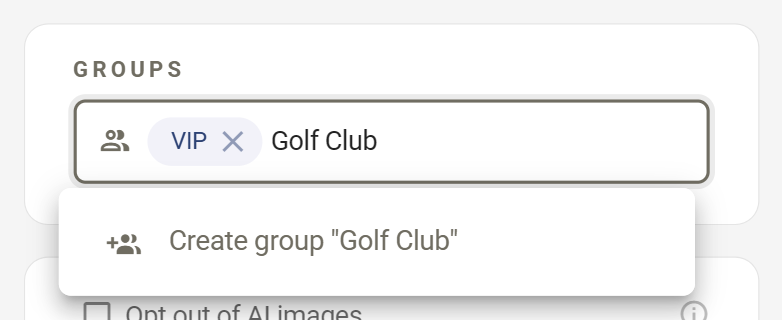
Groups gather customers who belong together: a wedding party, a trunk show, a company you dress, your VIPs. Type in Groups and pick a match, or pick Create group "Golf Club" (with whatever you typed) to make a new one. A new group is only created when you save the customer. The cross on a chip takes the customer out of that group.
Notes
The notes card has three tabs: General Notes, Style Preferences and Wish List. A tab with something written in it shows a small dot.
Editing a customer
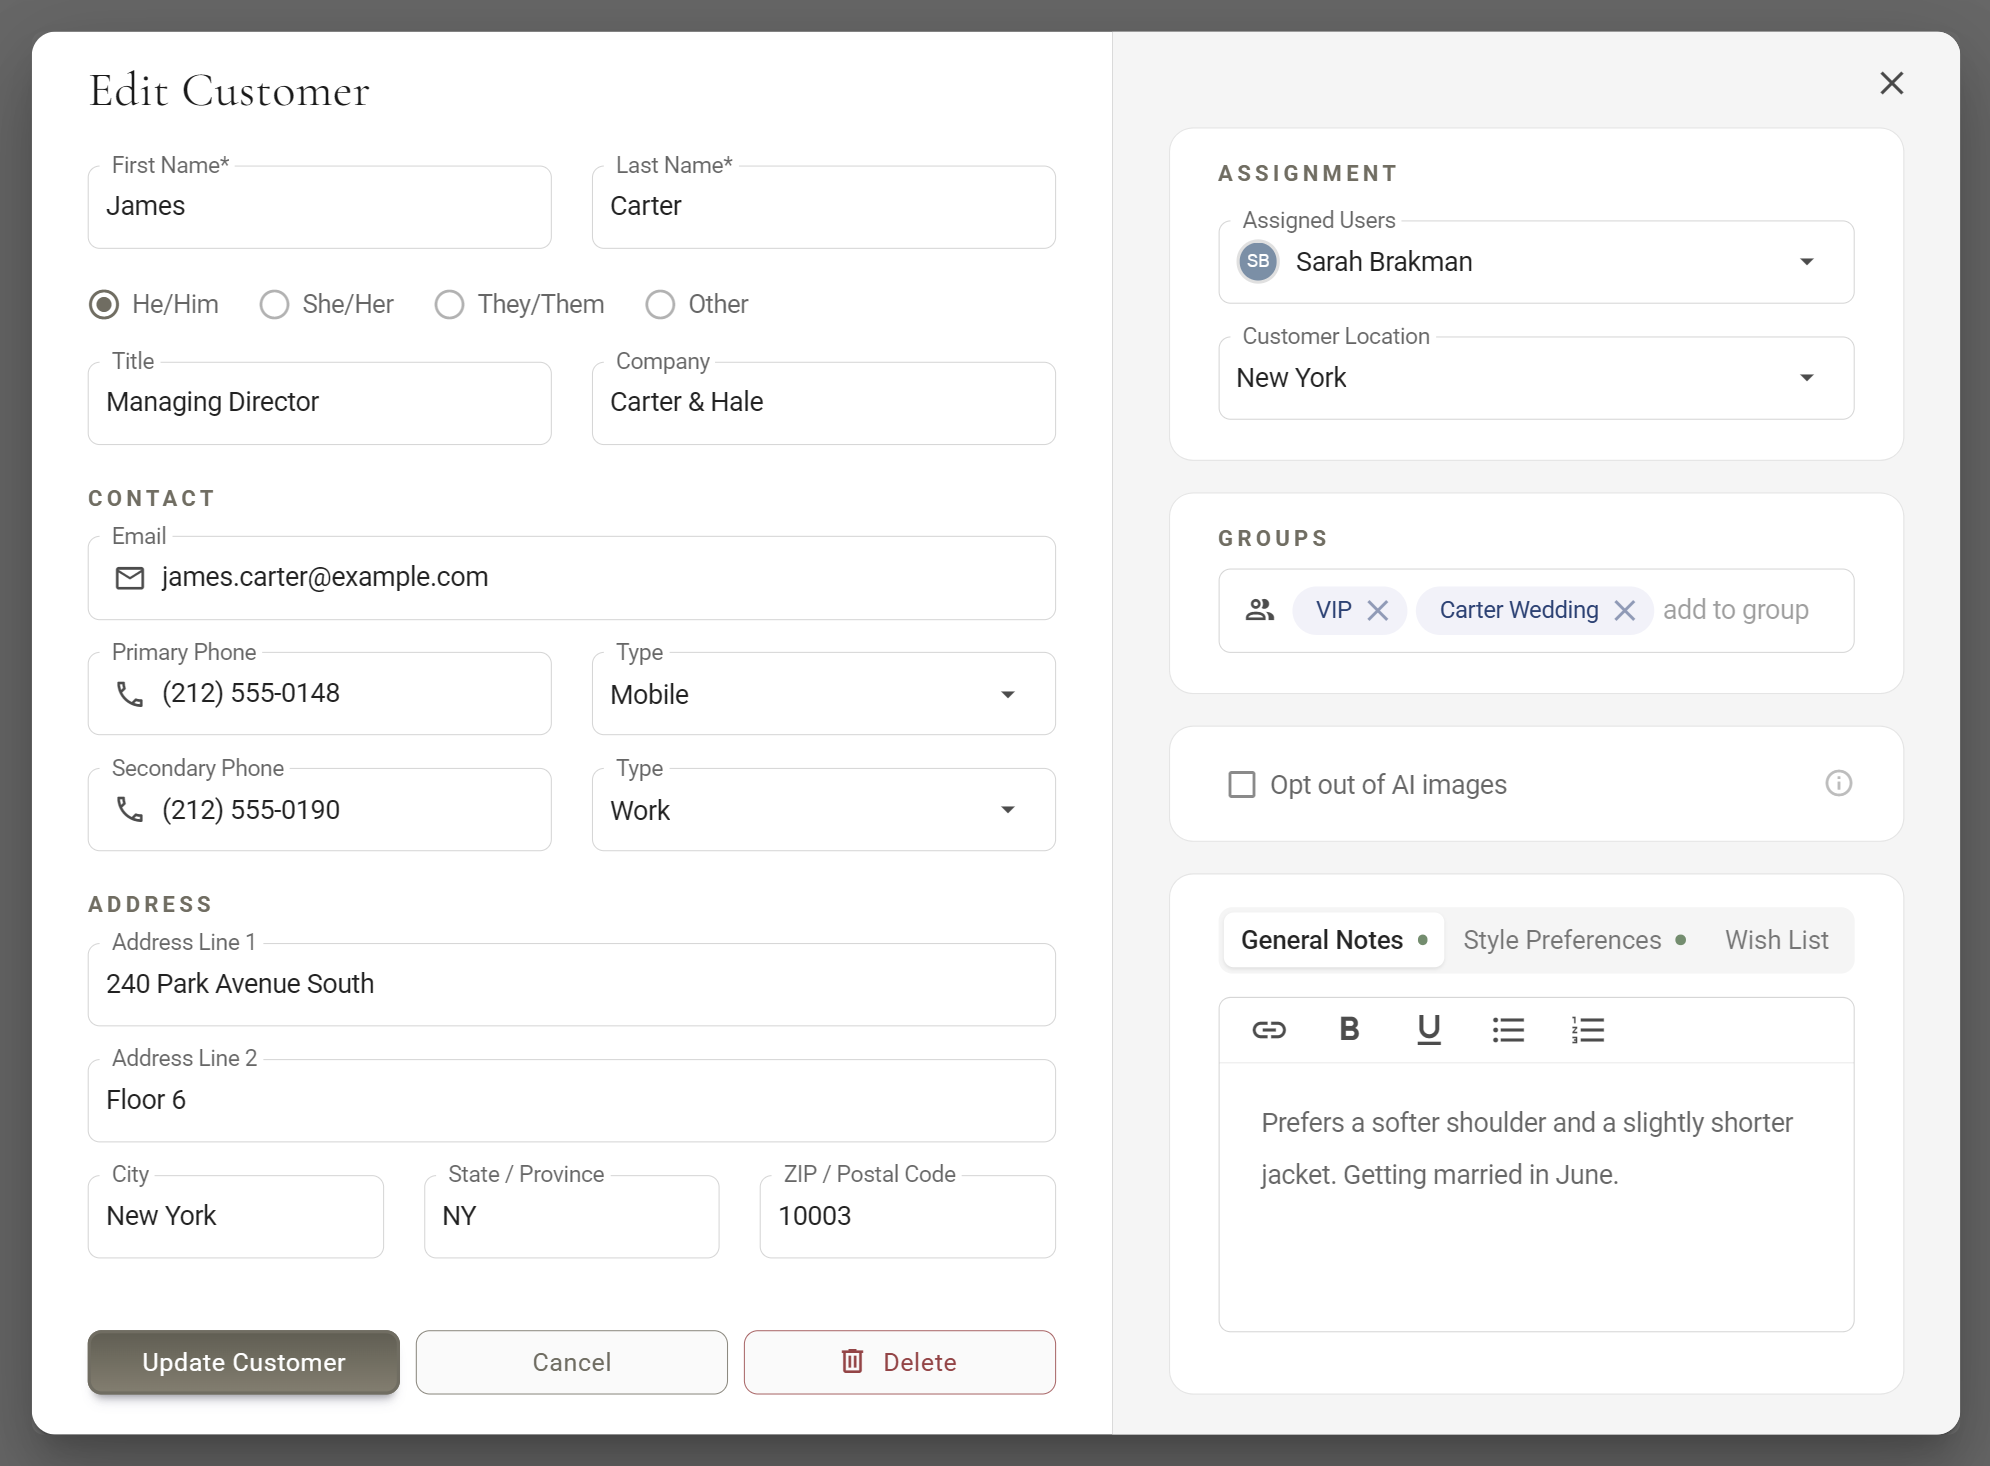
The same dialog opens titled Edit Customer, with everything filled in. Change what you need and click Update Customer (or Ctrl+S) to see Customer updated. Cancel keeps the customer as they were.
If a field fails its check, such as an email with no @, the click marks it in red and shows Check the highlighted fields.
Deleting a customer
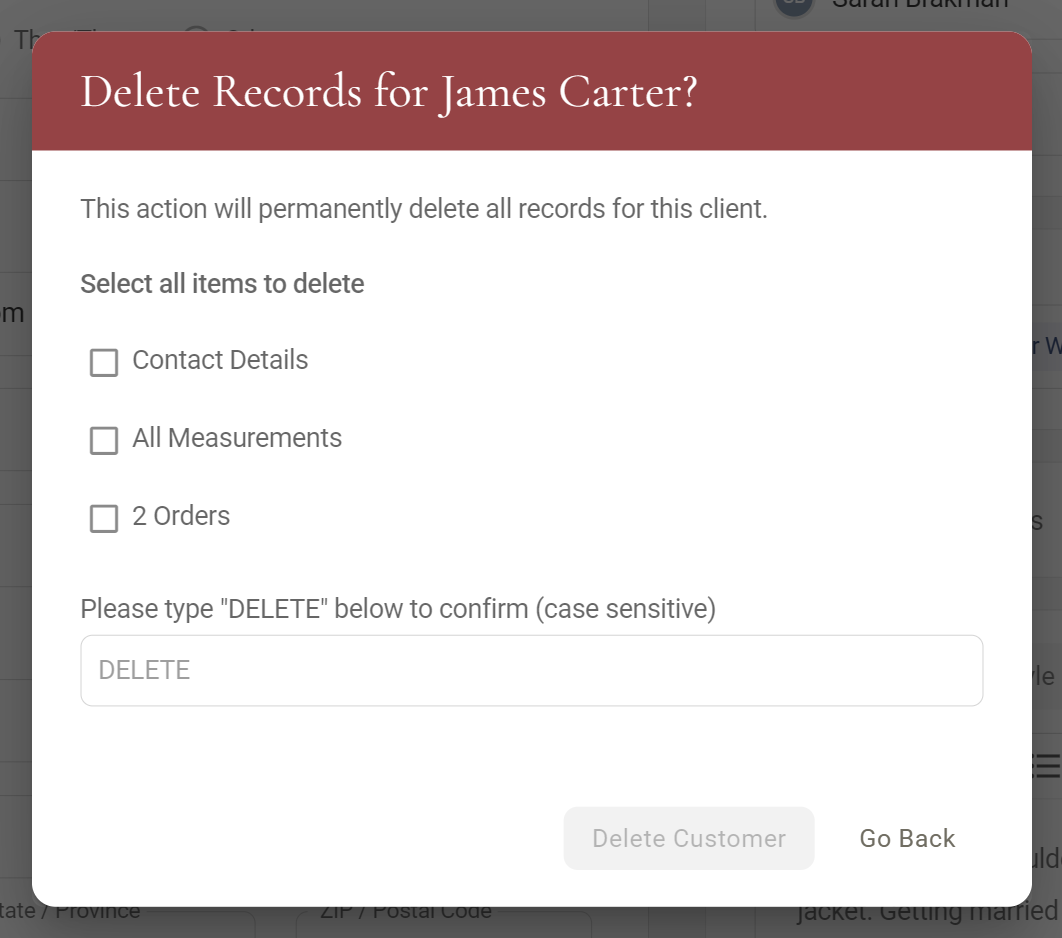
Delete opens a confirmation listing what goes with the customer: contact details, measurements and orders. It cannot be undone, so Go Back is there if you change your mind.
Opting out of AI images
Some customers do not want their photos used to make AI images. Ask, and if they say no, tick Opt out of AI images in the grey column, when you add them or later.
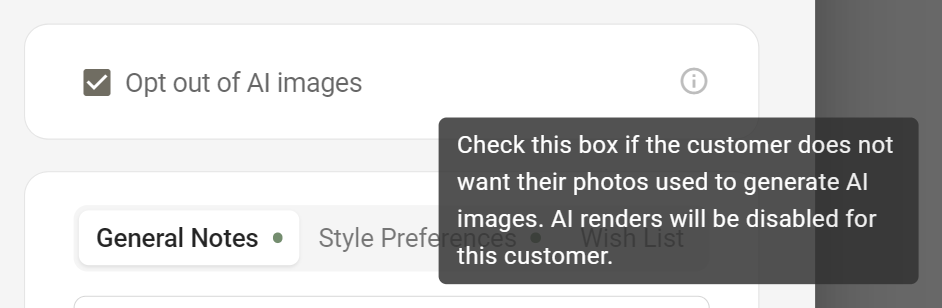
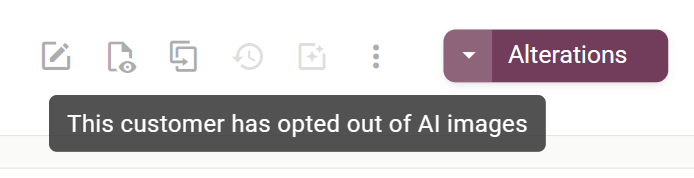
From then on nobody can make an AI render for that customer, and MTMPRO refuses one even if someone tries another way. Untick the box and save if they change their mind.
Choosing the fields your team fills in
Every shop collects different things. One needs an email for every receipt; another never uses a title or company. Owners and admins set this once, for everyone on the account.
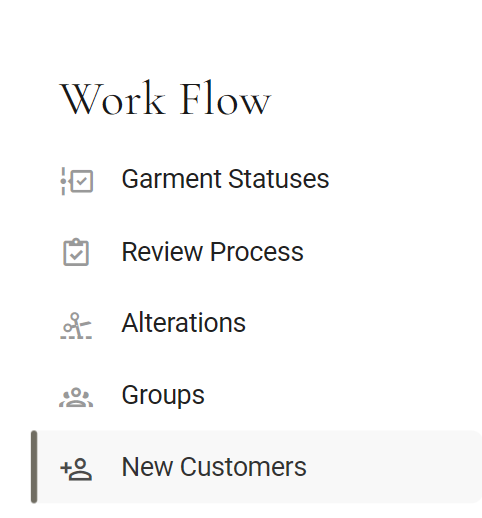
- Open the settingsOpen Settings, opens in MTMPRO and pick New Customers under Work Flow.
- Flip the switchesShow and Required for each part of the dialog, as described below.
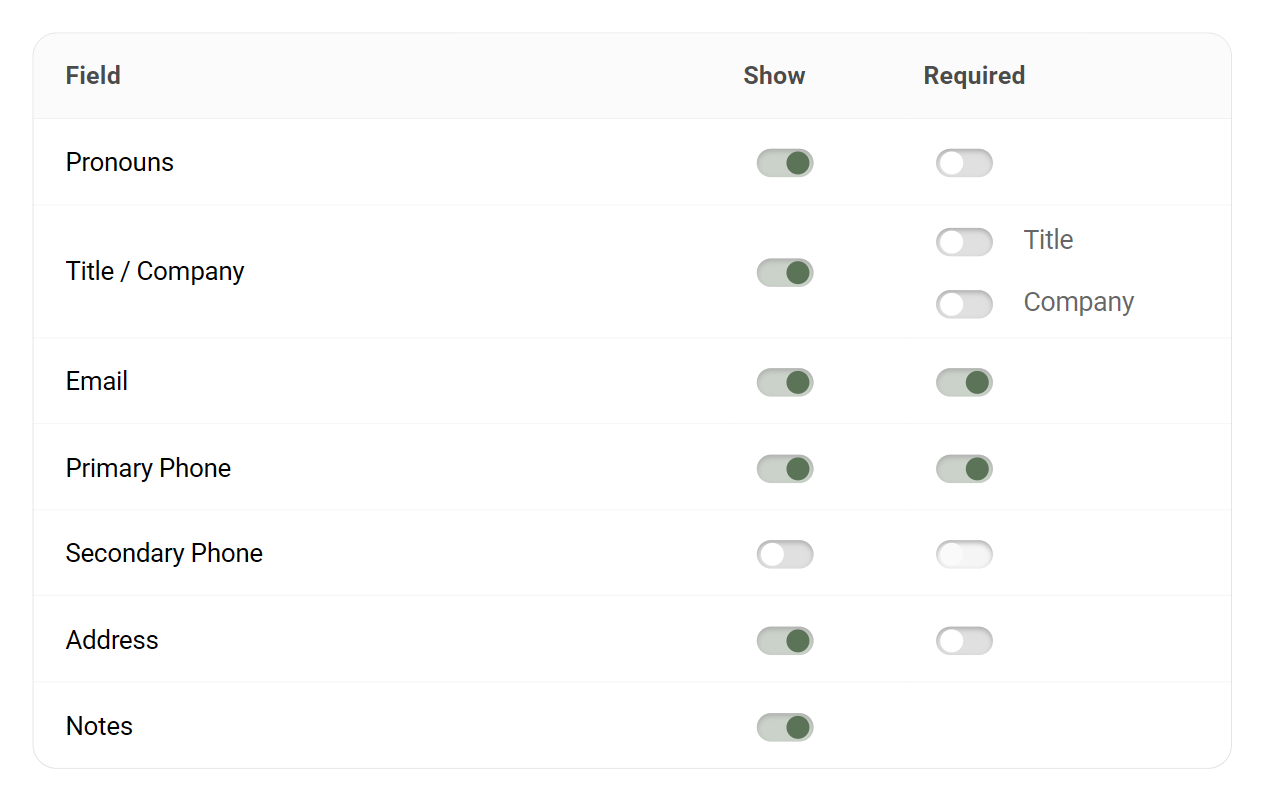
- ShowOff hides that part of the dialog, when adding and editing. What a customer already has is kept, only out of sight.
- RequiredOn marks the field with a * (Pronouns has no name to mark), and the dialog will not save the customer without it. Address means line 1, city, state and ZIP. Notes cannot be required. A hidden row's Required switch is greyed out and takes effect again once the row is shown.
- Saved as you flipEach switch saves straight away with New customer fields updated. Colleagues with MTMPRO already open see it once they refresh.
Who can do what
Owners, admins and associates can all add and edit customers. For associates:
- Assigned UsersGreyed out. They are assigned to the customers they add and cannot assign others.
- GroupsThey can pick or create groups while adding a customer, but not change an existing customer's groups.
- DeleteOnly for customers assigned to them, and only when an owner or admin ticks User can delete customers assigned to them for that person in Account, Users & Permissions.
- New Customers settingsOwners and admins only.
Good to know
- Ctrl+A savesWith the master measurement form on, Ctrl+A (Cmd+A on a Mac) in the add dialog saves and opens Master Measurements instead of selecting the text in a field.
- ZIP codes are five digitsZIP / Postal Code shows Invalid ZIP Code for anything else.
- Closing without savingThe close button or Cancel keeps nothing, including groups you typed in as new.
- Other ways in skip the settingsAdd Multiple on the Customers page, importing customers from a file, and adding a customer through Aria do not follow the New Customers settings.
More: AI Renders · Measurement History